Laura Murphy
100067755
Assignment 7: Basic Sewing
Photo Essay first with my details to follow at the end of the photo essay.
Project: Large Reversible Receiving Blanket
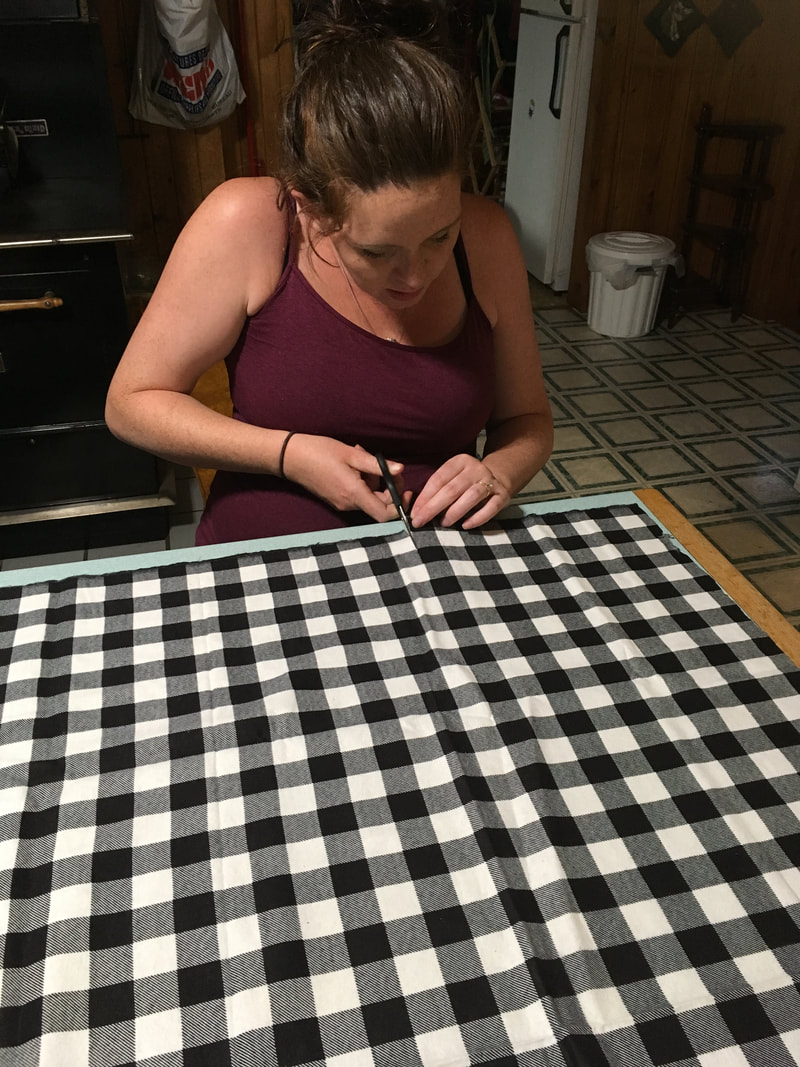
Cutting the fabrics to be the same size:
100067755
Assignment 7: Basic Sewing
Photo Essay first with my details to follow at the end of the photo essay.
Project: Large Reversible Receiving Blanket
Cutting the fabrics to be the same size:
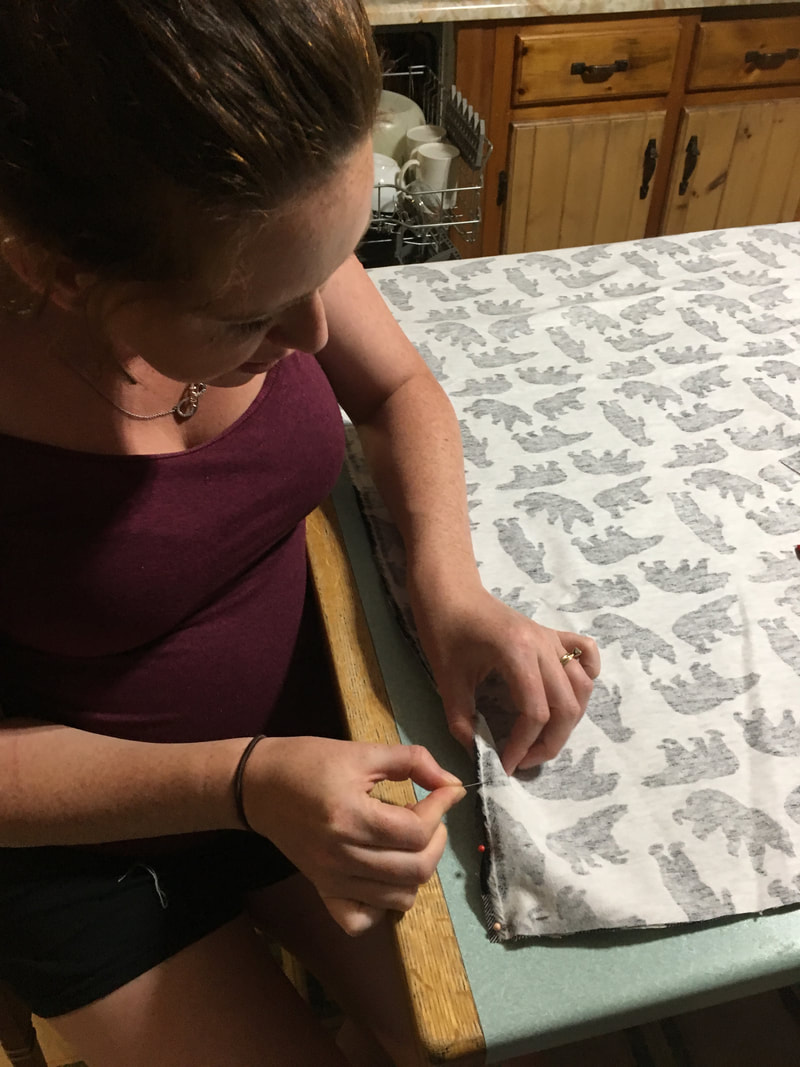
Pinning the two fabrics together good sides in:
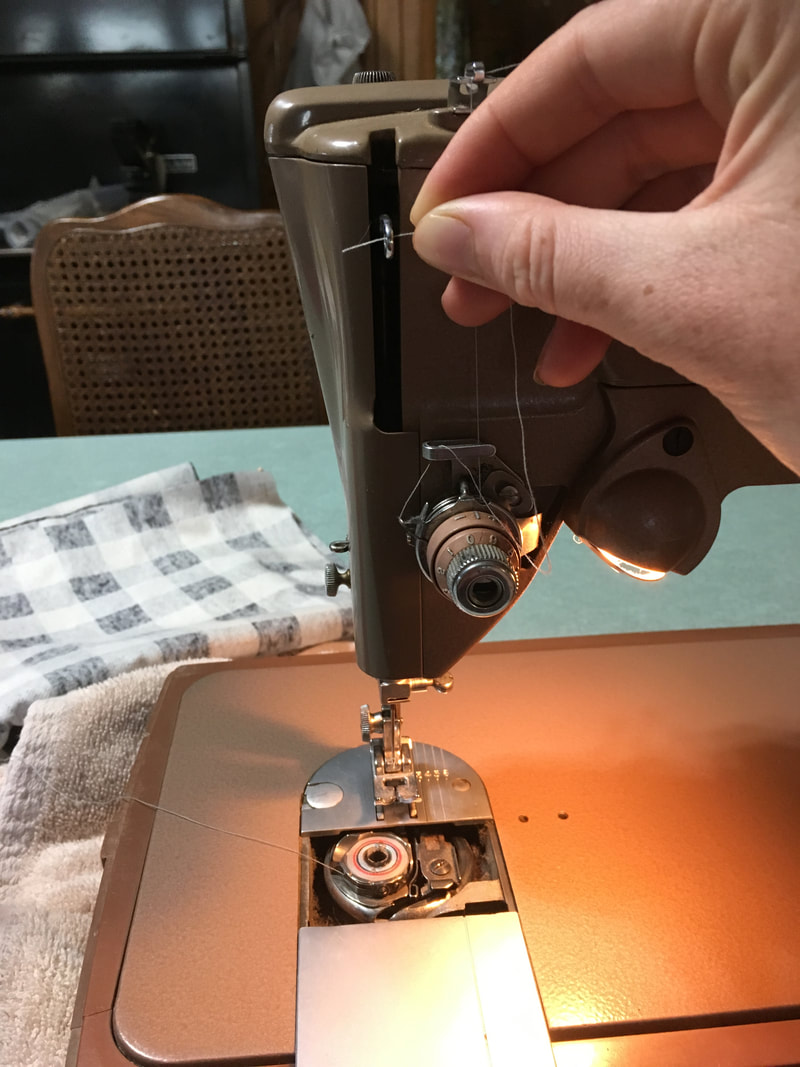
Threading the sewing machine:
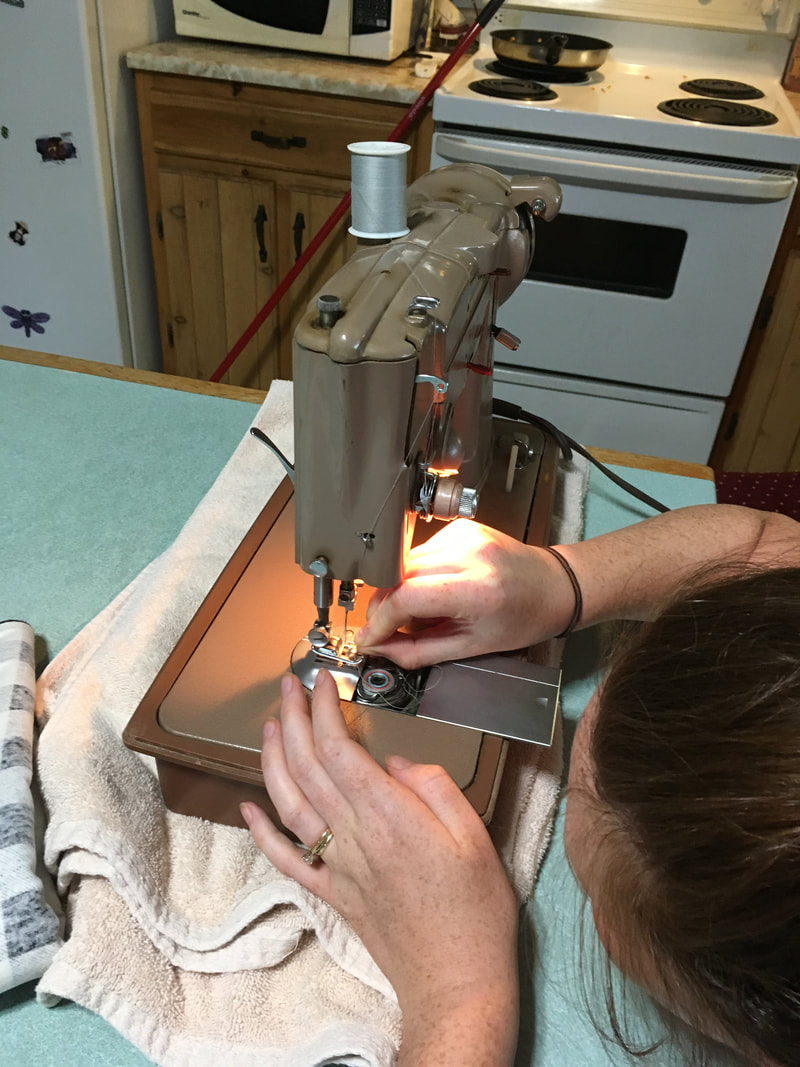
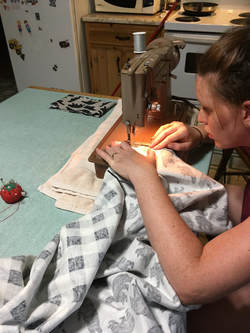
Heavy concentration sewing:
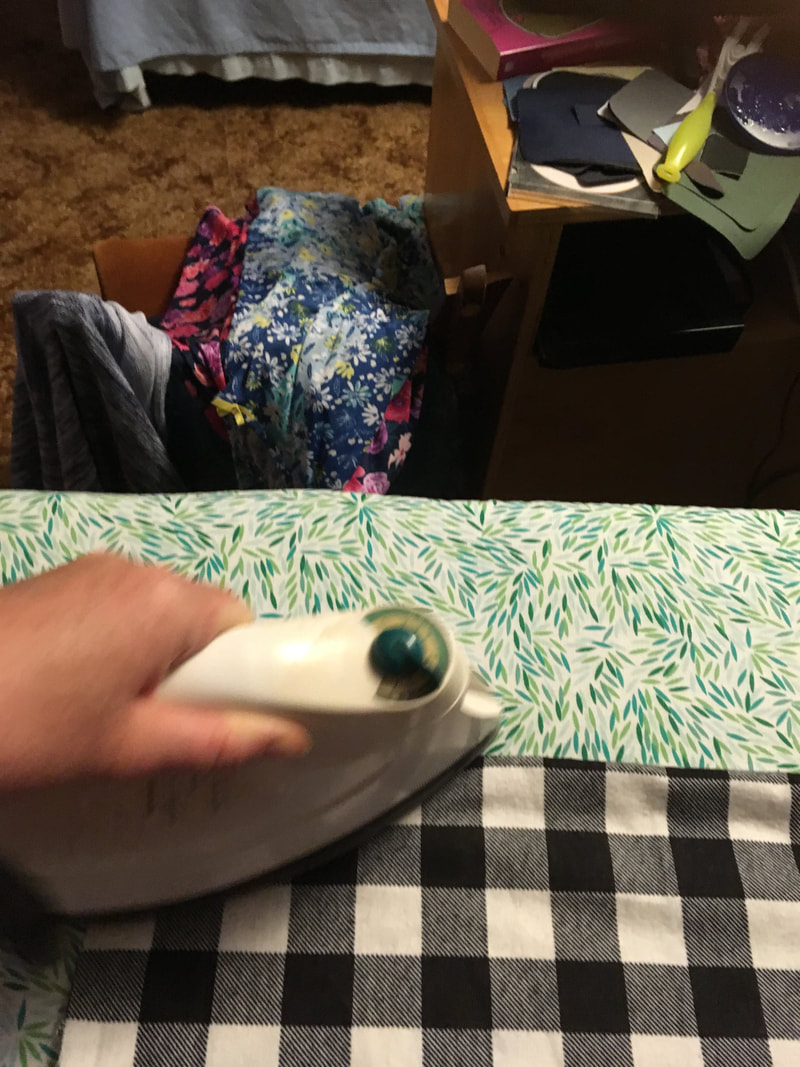
Ironing the edges:
Final Product folded over to show both sides:
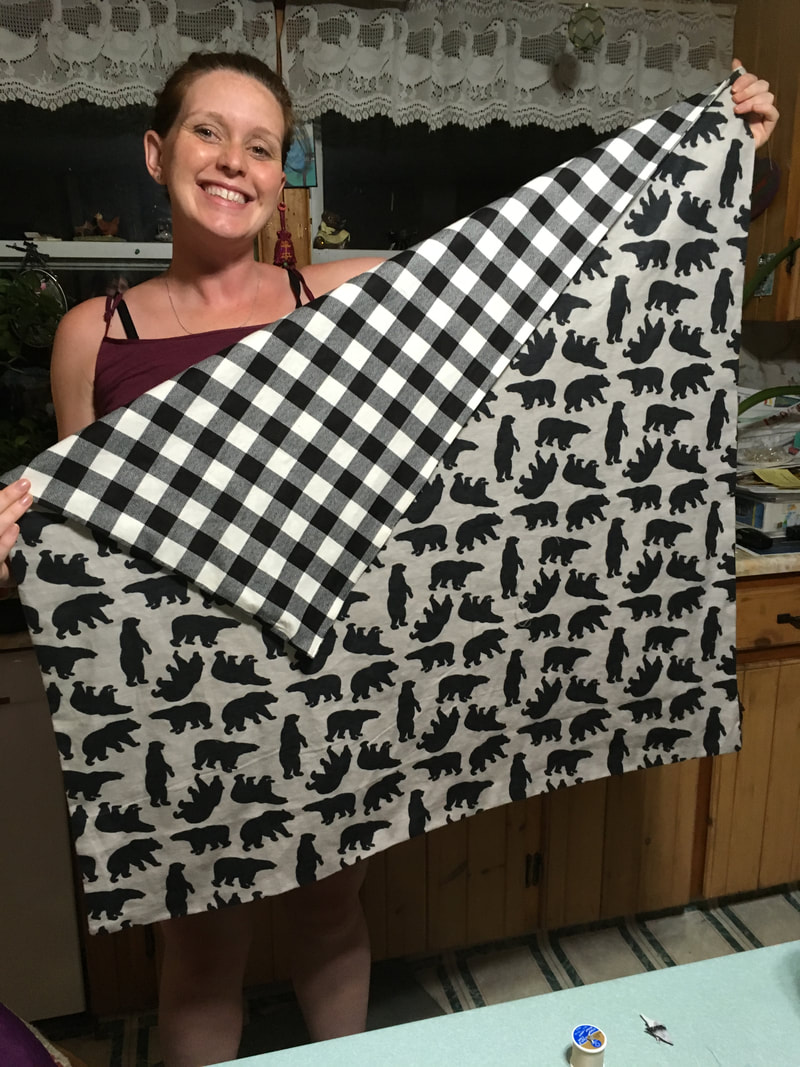
I decided to make an extra large receiving blanket as my sewing project. There were two reasons for this decision. Firstly, I am expecting my second child at the end of September and I find most receiving blankets so small, I wanted a really big one. The second reason is that I have zero experience and knowledge with sewing machines and wanted to do something really simple so I could focus on learning how to use the machine. I chose two patterns to make a reversible receiving blanket. One side is black, white and grey checkered and the other side is grey with black bear silhouettes. In terms of elements of design I was actually surprised at the line maintained by the bear silhouettes. At first glance they look very haphazardly placed but as I went to cut the fabric on a straight line I realized I was cutting through the same part of a bear every few inches and I quickly came to see that the bears were lined up in some way. All the standing bears fall neatly in vertical lines. There is definitely a rhythm to the pattern of the bears that has order and yet fluidity at the same time. The other side has a traditional checkered pattern and line style. I chose the colors on purpose to be very monochromatic and grey scale because I thought they were wintery colors and I also love the idea of bright colored baby clothes standing out against this receiving blanket. I chose to use flannel for this receiving blanket because it is so soft and gentle on baby’s skin. Embellishment options are a little narrower for a receiving blanket than for some garments because the embellishment must be safe for the baby however I did think a zig zag stitch at the end (as mentioned on the website I used) would be a fun embellishment. You could also trim the blanket with a different material to make a border or edge. Another idea is embroidery. I might try to embroider my baby’s name into this blanket after they are born. I used the following pattern/instructions to help me in creating this piece:
https://happyhooligans.ca/easy-jumbo-reversible-receiving-blankets/
It was a nice simple method that involved sewing up all 4 sides and leaving a 6 inch hole through which to turn the blanket right side out. Then sewing that final piece as close to the edge as possible. It did mean that you can see the stitches in that 6 inch piece and not on the rest of the blanket but for my first try I felt this was the easiest option and I was struggling with the logistics of sewing in general so I wanted to go with a simple beginners method. My Mom taught me to sew forward then in reverse for a few stitches then forward again at the beginning and end of each side to make the seam more durable. I used an iron to help crisp up the edges and it really added to the presentation of the blanket. I found the hardest part was threading the sewing machine including the bobbin and remembering where to guide the thread, I’m not sure I could do it again without an instruction book in front of me or my Mom’s help. I also struggled with problem solving. At one point the thread just stopped and I was sewing but nothing was happening. I couldn’t figure out what went wrong, everything still looked like it was properly threaded and the only way I could fix it was to call in my Mom and even she struggled with it. This is my Mom’s sewing machine and it is quite old, I’m hoping newer sewing machines might have less steps to follow to thread it in the first place.
2 sources useful in instruction on basic sewing:
I picked these two resources because they help to understand how to use the sewing machine for beginners. I especially liked the video tutorial but found the pictures helpful as well. I like the idea of the computerized machine with the automatic threader, I think I would do much better with this machine.
https://m.youtube.com/watch?reload=9&v=jmaZBTMzkoY
https://crazylittleprojects.com/how-to-use-sewing-machine/
Class activity on basic sewing:
Before actually making anything I would have students practice using the machine and just stitching in basic strips of cloth. Then once students felt comfortable using the machine I would have them decide what they wanted to make. Instead of having students all make the same thing I would give students a choice to make whatever they wanted so they enjoyed the task more. I would take them to the fabric store to pick out their fabrics as well. Another idea I would consider doing in the classroom is making something for a charity or those in need, maybe students could make receiving blankets for the neo-natal area of the local hospital.
Comments on other peoples blogs can be seen at the following links:
https://momsita.blogspot.com/2014/06/assignment-7.html?showComment=1531491674412#c9154442298379532789
https://studioart3613aitchison.wordpress.com/2014/08/16/assignment-7-basic-sewing/comment-page-1/#comment-48
https://art3613.blogspot.com/p/class-activity-discharge-dyeing.html?showComment=1531492293554
 RSS Feed
